Hello and welcome to the devlog! Today is Thursday October 30th 2025. It's been just over a week since the last devlog, so without further delay let's get to it! This past week has been an adventure in lighting. I endeavored to solve a "bug" in my game since I added lighting a few weeks ago. To break it down I use ❤ Godot ❤, and for the most part it's been an amazing experience. I love the node structure and the way the engine works with C#, but one nagging limitation is that only 16 lights can affect a given node at a given time. On the surface this may not seem like a big deal, and for a lot of games it might not be. However my game has a light on almost everything so that wasn't going to fly. Specifically this is an issue with the map. The playfield is one large image so it's treated as one node, and there are a couple of ways I could solve this.
The simple way would be to simply break the map up into smaller pieces, I could rework my game to use fewer lights, or I could reject the existing system and make my own. So without any idea on how to do it I started working on making my own lighting system! I decided to do this mostly as a challenge for myself since I've not done a lot of shader work, and only kind of understand how they work. I also suspected I could get some more stylized lighting going this route. It also just seemed fun! Which like what's the point in making something if you're not having fun doing it? I crunched some rough numbers and came to the conclusion I regularly have more than 100 lights on screen at a time with projectiles and NPCs. So I started knowing a rough minimum and got to work at making a single light.
I started off with a color rect that would sit on top of everything in a scene and added a shader component to it. I figured I wanted to track the lights range, position, and intensity. In about a half hour I had this! It's pretty boring, but it worked!

Next up I wanted to add alpha variance and colors so we could control the hue of our lights. After about an hour of tinkering and playing I had this. It was at this point I was getting confident that I could actually do this. So now we have a rect with something resembling lights and I was about to encounter a problem I was blissfully ignorant of up till now. Screen space. I was not aware how much of a pain this kind of is, or the issues that it would cause with color mixing.
Basically right now we just have a filter over the camera, but the colors aren't really "mixing". To get the colors to mix we need to read in the screen texture and multiply it by whatever our overlay color is. This is basically what the built in canvas modulate node does for you. Well this problem lead me down the rabbit hole of screen space shaders. On its own they're not particularly hard to grasp, but there were changes made to screen space shaders between Godot 3 and 4. Unfortunately for me the changes were only mentioned in a single line in the documentation, and this lead me to doing a lot of needless troubleshooting. The only real change was that in the documentation, for spatial shaders, it says we have a variable to get the screen buff called SCREEN_TEXTURE that could be used. That is a lie if you are using Godot 4. In Godot 4 you are supposed to declare a uniform sampler2D with a hint_screen_texture. Otherwise there is effectively no difference between the versions. Why this change was made I could not tell you, but it took me an embarrassingly long time to solve.
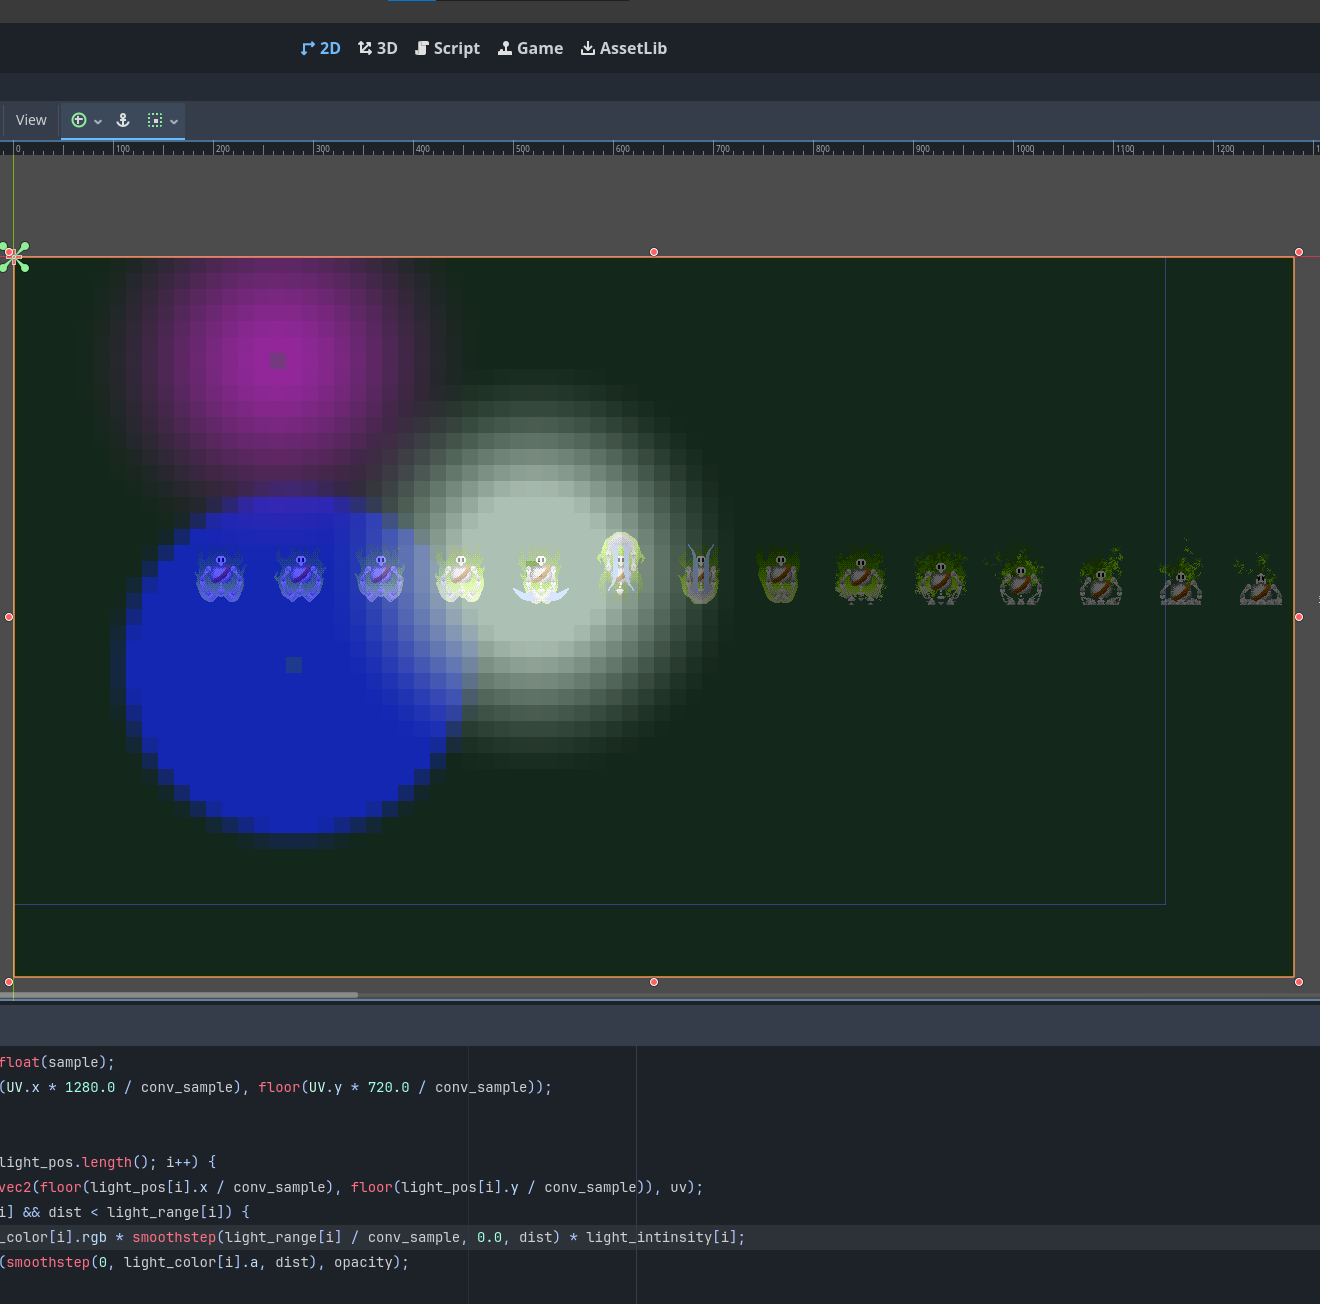
Once I did I started working at creating a more stylized look by creating a variable to create more pixelated lighting if I wanted. This didn't take too long since I had created similar effects in Processing years ago. You just create a sample variable and floor the pixel location before calculating distance. This value can be an integer, but I found a floating point number gave me a much better look. I guess it is worth mentioning that I offset my texture UV by the screen size. Doing this makes a lot of calculations easier for me to work through with a very minor hit to speed, it also lets me work with larger values for range. The end goal with all of this was a flexible system I could drop into any game and get some cool lighting.
Now that I felt that I had a shaky grasp on things, it was time to start scrolling Instagram for inspiration. I needed to figure out what I wanted the lighting in my game to look like. What I had was already a great start, but it wasn't what I wanted exactly. I ended up stumbling across this cool pixel artwork that I thought looked great! I got to work toying around in the shader code until I ended up with my own take on something similar, but my own. I ended up with these cool looking circles that I could control the banding on! Now we just needed a way to control everything.
The shader effectively contains a few arrays of a fixed size that store position, range, color, state, and some other settings. So I needed a way to actually update those settings at runtime since the GPU isn't aware of the game and is only aware of the texture info. So I created a class to manage the lights. In the simplest terms the class keeps track of unused indices and if a light is added to the scene it asks for one of those indices. That index can then be passed to some other methods in the manager to update that indexes setting in the shader. This doesn't do anything on its own though. We need to create an scene that can act as our light. I created a scene around a marker 2D that I can use as a base for my lights. I did this mainly for the marker extents variable. I wired that directly to the range so setting up lights initially and animating them is a bit easier. The class exports the color, and some other minor settings that we can update if we need. And that's that, we have a functioning system!
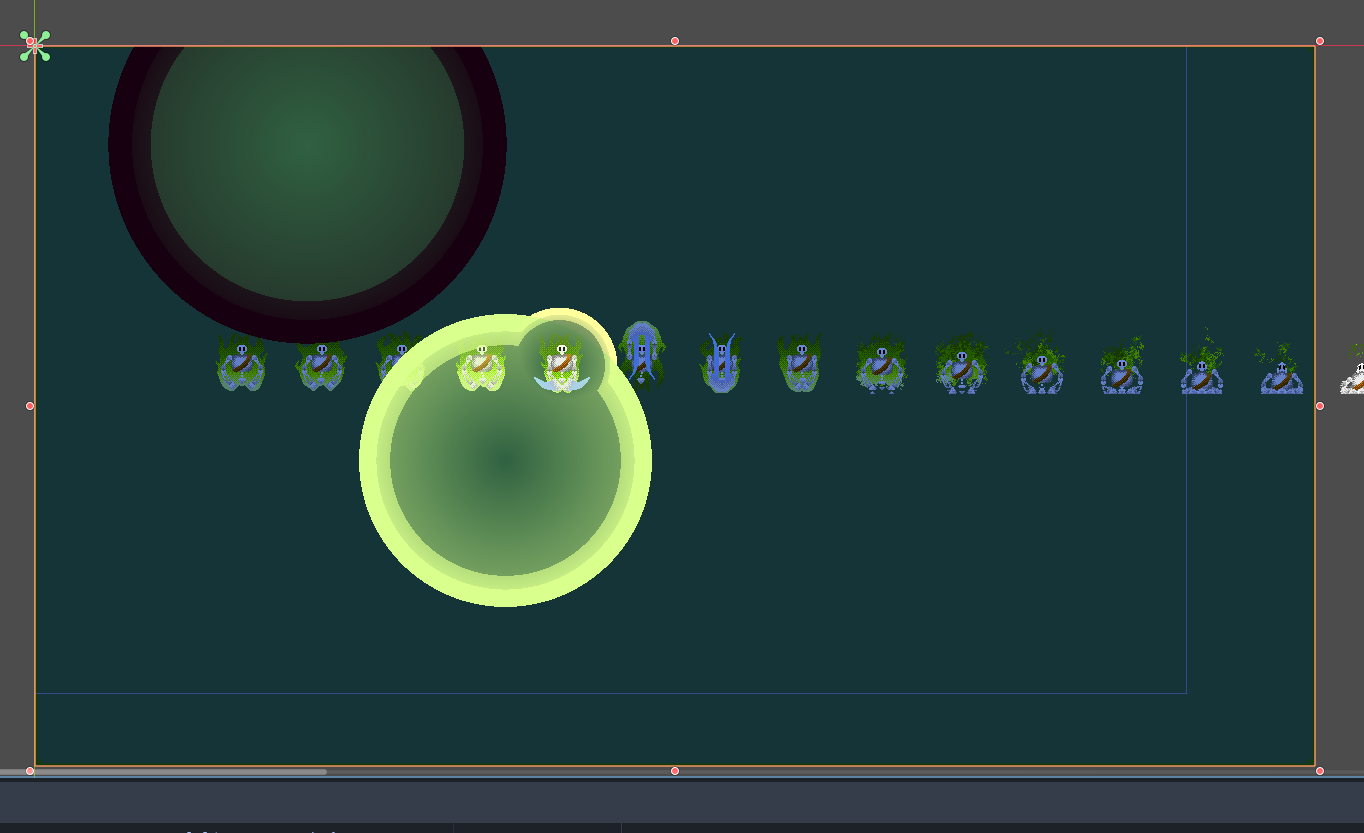
This is what the final implementation in game looked like, but now we had to tackle the next issue in game. You see most of the particles in game should be fairly bright, and pop in the dark! That hasn't been the case for awhile, but with the experience I gained working on the system above I thought I was ready to tackle everything. This lead me to learning about the back buffer copy node, which while very cool, turned out to not be needed. I ended up iterating on my existing glowing particle shader that didn't really work and having it consider the screen when rendering. This initially lead to some very interesting behavior like the sprites "disappearing" when the particles appeared. I ended up discovering this was caused by reading the screen texture prior to those sprites being rendered.
I also discovered that if I set the Z order index higher that the particles wouldn't be an issue. This obviously wasn't a great fix so I needed to track down the issue. I'm sorry to say, but I have no idea how I fixed the problem. Today during stream I was playing with the Z order index of the fog node. This node is the same node that contains our lighting system. Eventually after doing the game dev equivalent of taking the computer apart and putting it back together it suddenly worked. Not satisfying I know, but it was how it went and even rewatching the VOD I can't fathom why my change fixed it. Perhaps it will come to me later or one of the more experienced people reading could explain.
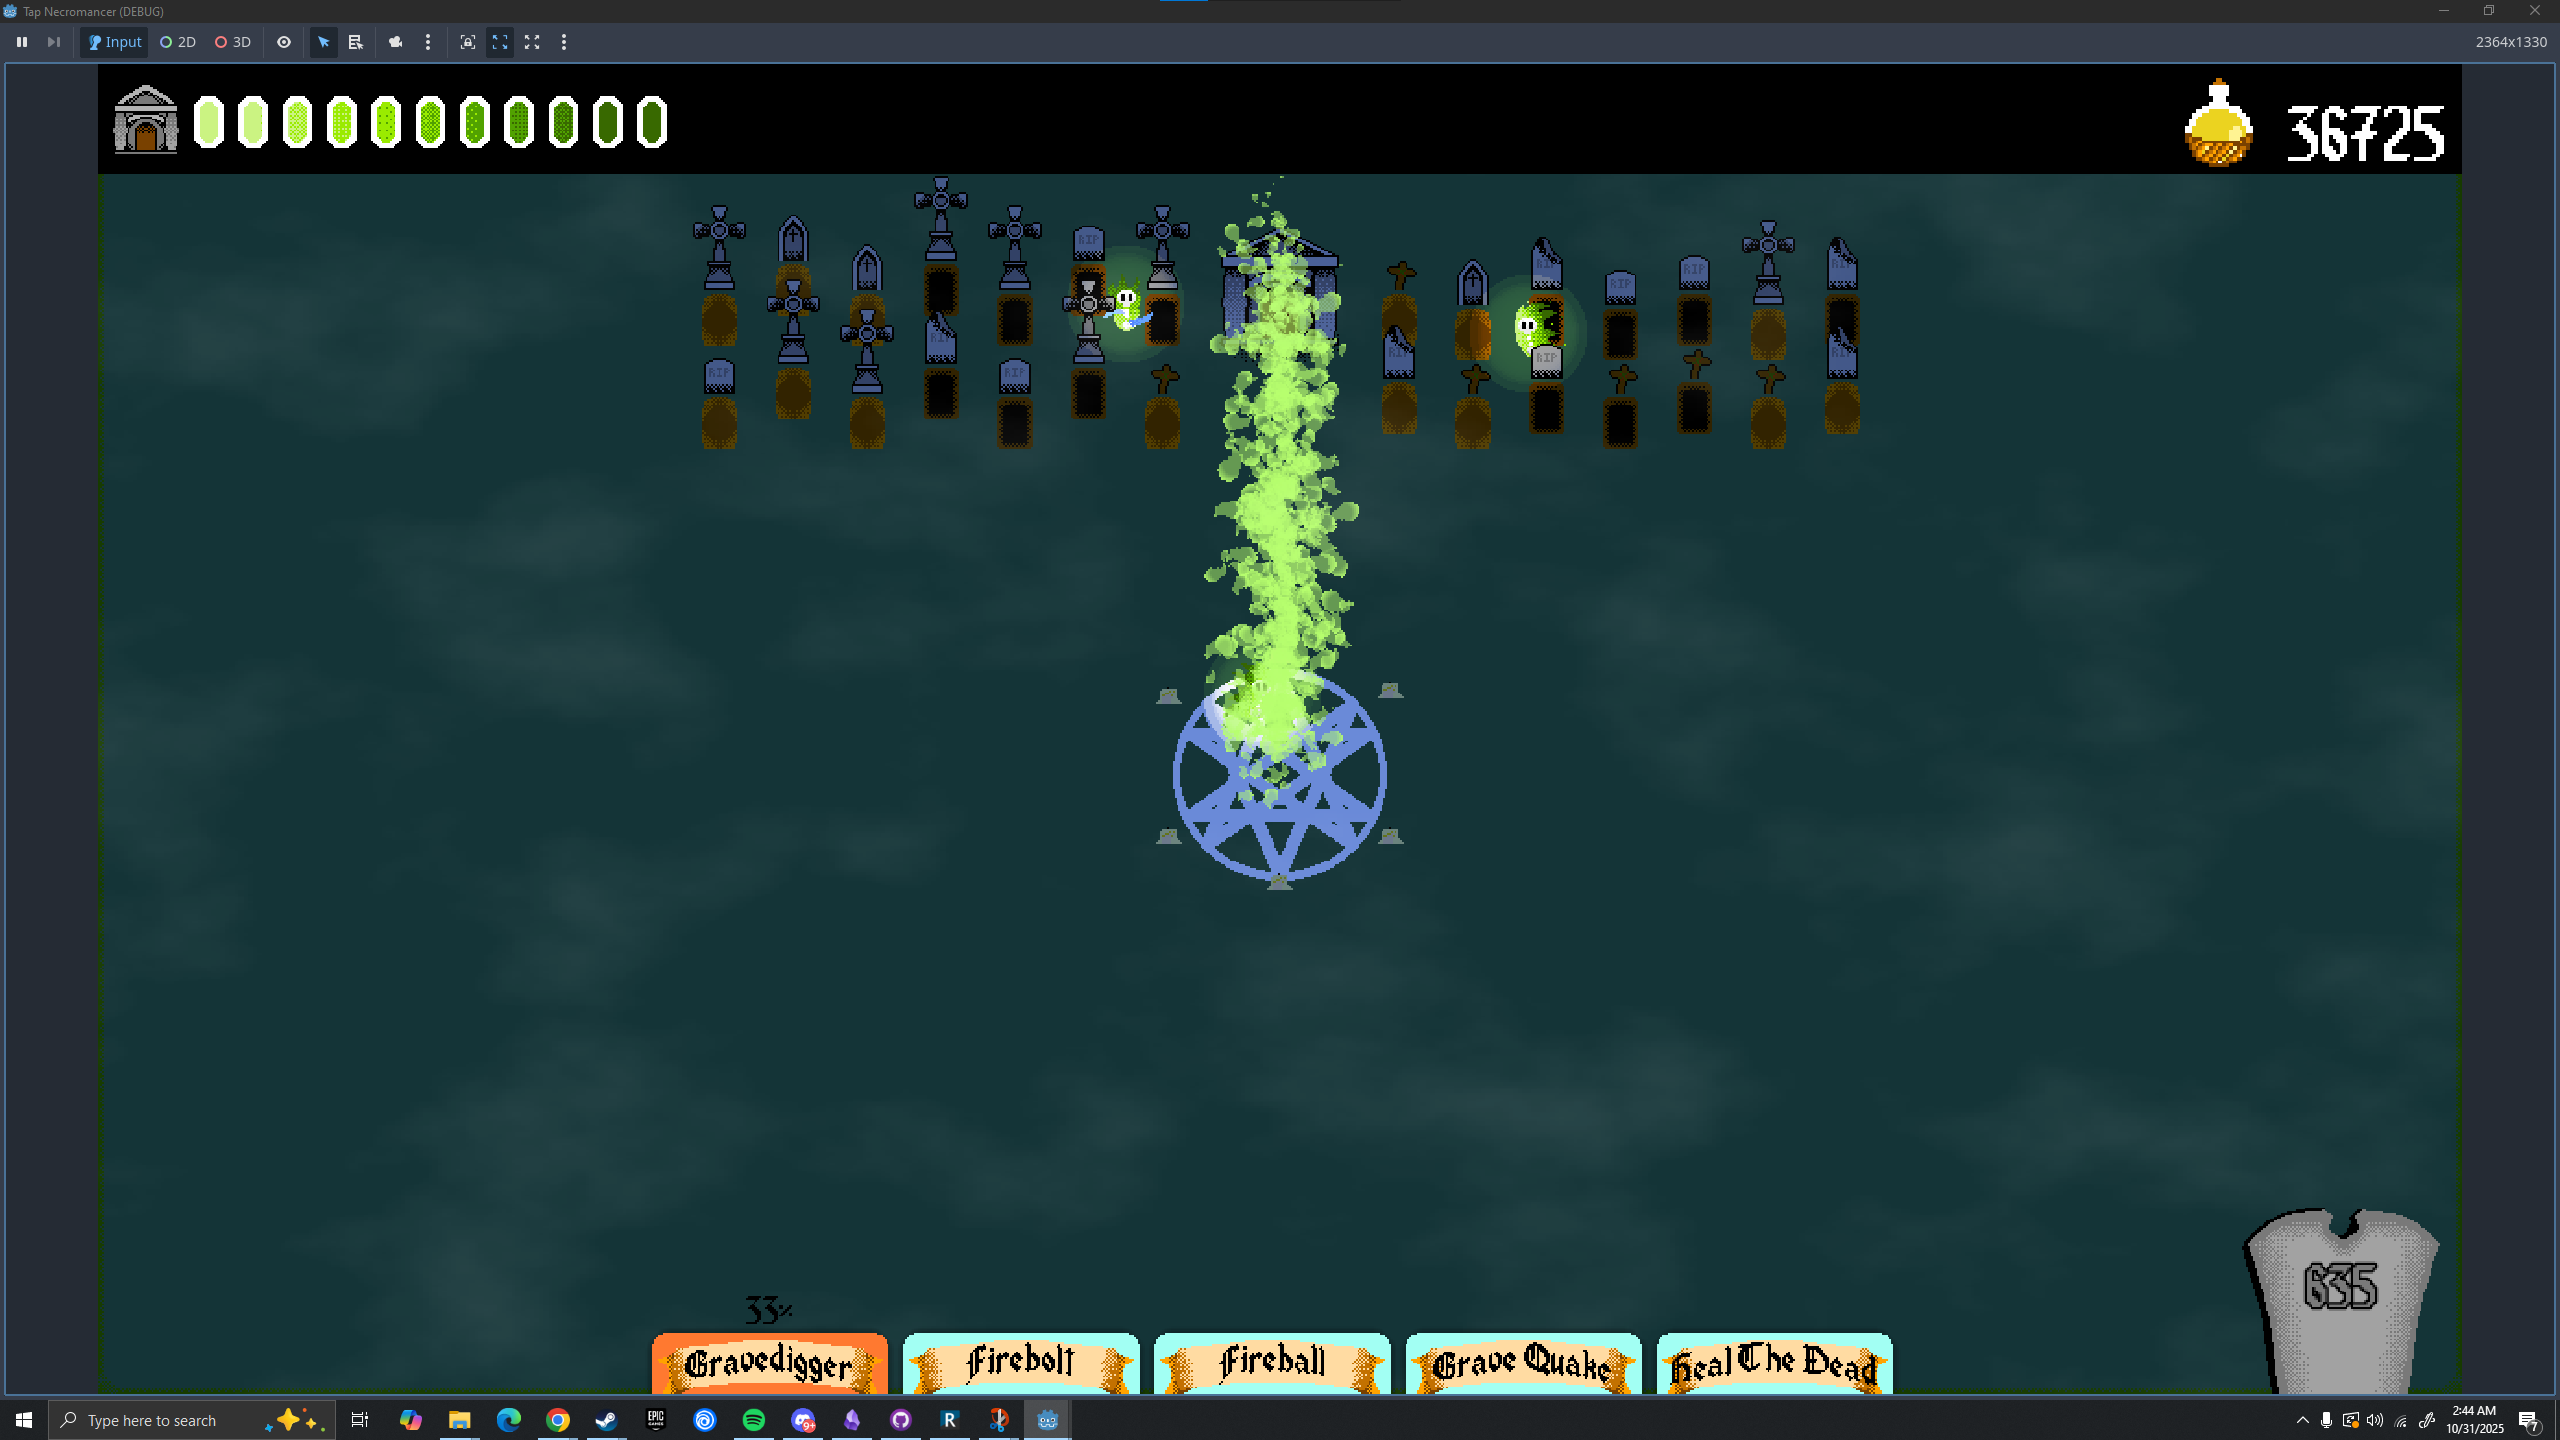
On a much more minor note I got the grave quake spell, and camera shake in the game to let me do a run without any summons if I wanted. The whole gameplay hook is to beat waves with a variety of unique card combinations. I still don't have a great name I'm using Tapnecromancer on stream, but I'm open to any and all suggestions! If you enjoyed this I give regular and consistent updates on Instagramthroughout the week, and I stream via Twitch, YouTube, and Kick Monday - Friday (generally). Anyways if you made it this far thanks! I'll try and post another one of these next week.
Did you like this post? Tell us

Leave a comment
Log in with your itch.io account to leave a comment.