Clique aqui para ler em Português (BR)
Hey everyone, today we're going to learn step-by-step how to draw an RPG map. In this case, it'll be a dungeon map, either to guide players' exploration or even to use as a battle map. This will be a very basic map, in the style of a floor plan viewed from above, without furniture or other objects.
We'll use only three materials for this project, trying to keep it as simple as possible: a regular black ballpoint pen, like the kind used for college entrance exams or competitive exams, a pencil, a soft eraser, and a sheet of dotted paper.
The first step in our dungeon is to draw the walls. I usually add the elements of doors, pillars, and stairs. We'll use the pencil and ruler to guide our drawing. The idea is to connect the dots to form rooms and corridors, which the characters will pass through during their exploration. For this size of paper, I usually define each square as 5 feet or 1.5 meters.
After drawing everything with the pencil, we'll go over the lines we've already created with a black pen. First, we'll go over everything once, let it dry a bit, and then erase it to remove the pencil. Then, we'll add more weight to the lines to increase contrast.
With everything outlined, we'll draw the stone slabs on the ground. This is a way to add a natural grid to the map. If you're using the online map on a mountain bike, they can help you adjust the map. The tip here is to go over the dots very lightly, right next to them, as they can disappear if you go over them, making it difficult to create parallel lines later.
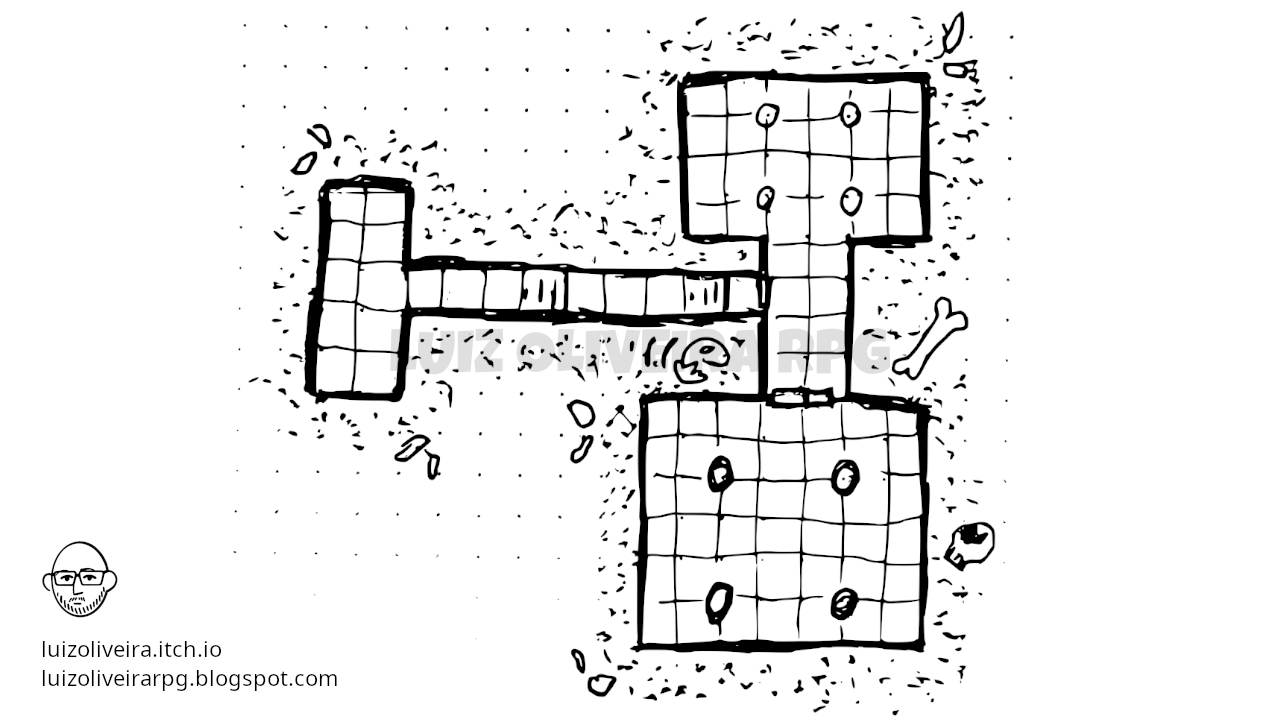
With this section finished, we have a map. Now we'll move on to the finishing touches by adding texture to the dungeon's surroundings. There are several ways to create this type of hatching; in this case, we'll use dots. Try to keep the number of dots close to the wall and decrease the number as you move away. I also add some elements here, like small rocks, bones, and fossils, just for fun; in practice, the characters won't explore inside the walls.
At this point, the map is practically finished. You can add some texture if you like, like markings on the stone floors, dots within the drawing, and other elements you like.
Congratulations, if you followed all the steps here, you've completed your RPG map! Now it's time to populate it with monsters, traps, and treasures and have adventurers explore it, whether in a group or even playing solo.
Like the post and share it with a friend who wants to learn how to draw RPG maps. Until next time, keep exploring!
Did you like this post? Tell us

Leave a comment
Log in with your itch.io account to leave a comment.