Indie game storeFree gamesFun gamesHorror games
Game developmentAssetsComics
SalesBundles
Jobs
Tags

PixelCNC Has Moved: deftware.org

CAM software developed by artists for artists to create unique and original works on a 3-axis CNC router or mill. · By Deftware

Help on Layers

A topic by valhallaCNC created Feb 09, 2022 Views: 274 Replies: 9
Viewing posts 1 to 4

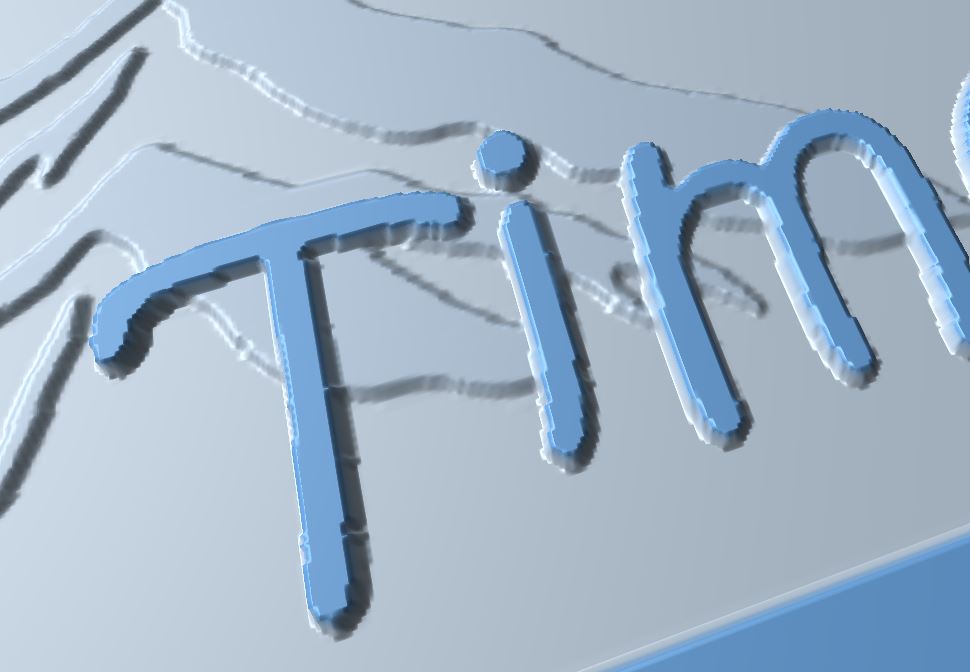
Hi charlie :  I'm stumped , I have two layers a raster layer of mountain and a text layer. I do a parallel rough pass first 1/4 EM. My second operation is with a round nose  EM to clean up. I wanted to get a crisp outline on the letters like a  Vbit profile but can't find the right operation order. The mountain in the back ground has varying heights . Any suggestions to point me in the right direction ?  Is  the profile operation that will be fixed in the next release the answer ?

Thanks Joe

Developer

Hi Joe,

I think the best thing is to use a tapered cutter and use a profile milling to cleanup the text edge - making sure to not cut down into the background.

When you say "like a V-bit profile" do you mean a draft angle on the text? Or just a chamfered edge on the top? You should be able to use the profiling operation on there to get a chamfered edge pretty easily. The only issues I've fixed since v1.53a with the profile milling operation are when a Cut Width is used and duplicate cuts can be generated as well as the tabbing functionality that wasn't working right with metric projects. You can also use the Min Depth parameter to ensure that your parallel roughing/finishing operation(s) only cut below where you want a chamfer. Set it to just down to the top of your background layer, a tad above it perhaps, as long as it's below where you want your clean text edge to be. Then come in with a tapered cutter or v-bit and profile the text deep enough and at an offset that produces the edge you're looking for.

Let me know how it goes!

 - Charlie

Developer

Oh,  I almost forgot: you could also try using the Horizontal Milling's finishing feature - set the Stepover to zero and your Cut Depth to a small increment, and then your Min Finishing Angle to ~60 degrees or so so that it leaves low grades alone and focuses on more vertical wall areas. v1.53a does however generate cuts around the inside walls of the canvas, which are not useful with projects like this, but they can be disabled in the upcoming beta release that should only take another week or two tops. I think this is what you're looking for (except the cuts that it produces around the edges). For now I'd suggest using the largest Cut Depth you can get away with to reduce the time wasted by the inside wall cuts v1.53a generates.

 - Charlie

(2 edits)

Opps...your right you were fixing pocket milling calculations on 12-9-21 emails. When I try to do profile operations same thing happens endless calculations. I can send log files if you need them...Joe ...BTW your second suggestion seems to work fine I'll know better after I cut it. Didn't know about the angle trick..thanks Update on my test. When the mountain and letters are on the profile operation it does endless calculations even with a very shallow cut (just letters). If I remove mountain layer it calculates correctly.

Developer

Hi Joe,

I did some experiments to try to get the Profile Milling operation to stall out. I'm sure it's just a parameter that's set to something it's not happy with. I am able to cause it to stall out when Contour Z is set to the bottom of the canvas, 0%, which technically shouldn't produce any contours and error out. I'm not sure what I changed in v1.55b but it's not an issue on there - it just generates a blank toolpath and shows an error about it, but v1.53a definitely gets stuck calculating when contour Z isn't set to somewhere between the top/bottom of the canvas volume.

It's important that the operations which require the user set a contouring Z plane have it set to something that does produce a contour which includes the Profile Milling, Pocket Milling, and Medial-Axis Carving operations, otherwise they will either fail to generate a toolpath due to not having any contours at the set Z-plane or it can generate something undesirable.

 - Charlie

Charlie : It also will stall with the mountain layer even thou it is less then 1/2 of the letters. This is with any depth setting, not even touching the bottom layer.  So I just set Text layer as the active profile cut, works fine then. Is there any way to stop the calculation once it begins ? Otherwise I have to close and reopen  program. Thanks

Developer

Hi Joe,

Could you email a log file that contains the stall to support@deftware.org? Also, if you could paste a screenshot of your profile milling operation's parameters here - or to the email, I'd like to take a look at that as well if you don't mind.

 - Charlie

Developer

For anyone who comes across this thread in the future, Joe was running into a bug that exists in v1.53a that prevented PixelCNC from showing an error if a toolpath fails to generate. This was since fixed for the upcoming v1.55b release. The issue was that he was not setting a Contour Z that intersected the contents of his canvas, which occupy only a section of the full canvas Z size being used. It's a good idea to only make your canvas Z size as thick as you want your deepest cuts to be and keep your canvas contents ranging the full thickness of the canvas, at least in most situations, and not leaving a portion of the bottom section of the canvas solid or a large portion of the top of the canvas empty, particularly when using operations that employ a Contour Z level.


Here's a GIF showing how the Contour Z level affects the toolpaths that are generated by the Profile Milling operation. The Pocket Milling and Medial-Axis Carving operations also rely on the user specifying a waterline contour level for PixelCNC to trace for generating toolpaths from. If the contouring Z plane is set lower or higher than the contents of the canvas then no contours will be produced and no toolpaths generated. Something for everyone to keep in mind and be aware of :)

 - Charlie

(1 edit)

That was the problem, got it working now. In your explanation you said It's a good idea to only make your canvas Z size as thick as you want your deepest cuts to be. Most things I do require a cut out, so I set my canvas Z size to my material depth (.75 ) .  Is that the best way to set canvas Z ?  I use profile operation to cut it out, and max depth will only go to Z size  ?

Developer

Hi Joe,

Yes, the maximum depth of an operation will only be able to go as deep as the canvas' Z size. I see what you're saying, you're effectively modeling the workpiece in your canvas to accommodate the cut-out. If you're not doing a cut-out (e.g. just engraving or v-carving into a workpiece that's already the shape it needs to be) then it's a good idea to set your canvas Z size only to the deepest you need your cuts to go. If you need them to go through the workpiece then set it as thick as that at least, if not a little more as room for error to make sure it cuts all the way through :)

 - Charlie